


Kick off your tutorial by spotlighting the final achievement. Presenting the completed project or skill upfront sparks curiosity, motivating viewers to uncover the steps that led there. This technique, often called reverse instruction, involves showcasing the end result first, then rewinding to methodically explain the process. Leveraging a video reversal tool like Pippit’s makes it effortless to reveal the outcome initially, then transition into a clear, forward-moving tutorial that feels fresh and intentional. Begin with a clear, compelling final frame and promise your audience a practical guide back to that moment, rewarding their engagement.
How Reverse Tutorials Captivate Learners
Starting with the conclusion offers learners an immediate sense of accomplishment, creating a compelling hook that encourages them to stay engaged. Instead of waiting for the payoff, viewers witness success upfront and then mentally piece together the steps in reverse. This backward mapping enhances memory retention by activating pattern recognition. Additionally, this approach is highly effective on social media platforms, where eye-catching results grab the attention of fast-scrolling users and entice them to watch the full tutorial. Reverse intros work especially well when the final product is visually striking or instantly understandable.
Designing Your Lesson: Forward Planning, Backward Presentation
Begin by outlining your tutorial in the natural chronological order. Identify every essential action, decision, and measurement. Then, invert these steps to craft your opening reveal, ensuring each reversed moment redefines the previous frame clearly. Keep this reversed intro concise-ideally a single captivating shot that instantly communicates the outcome. Use the rewind segment as a promise to your audience; the forward tutorial must fulfill that promise with deliberate, repeatable steps and precise instructions. Eliminate any parts that don’t add new understanding to keep your lesson focused and efficient.
Editing with an Educator’s Eye
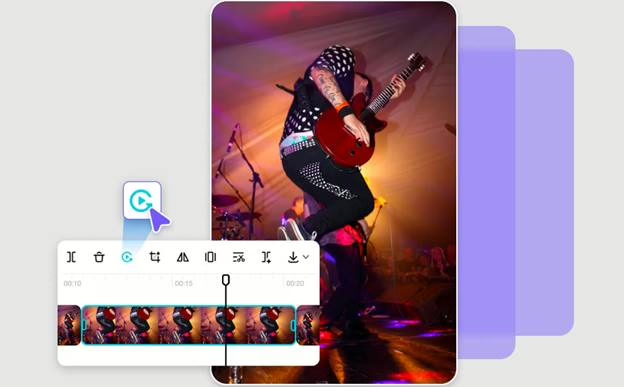
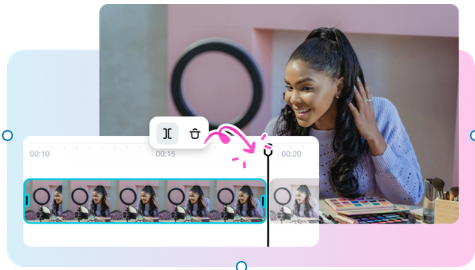
Your editing process doubles as your teaching plan. Compress time in the introduction to highlight one magnetic moment. Expand time only where learners need extra guidance, and condense routine or repetitive actions. Label clips by their instructional purpose and mark cause-and-effect points to streamline revisions. To trim unnecessary pauses and maintain a brisk pace, use a reliable video trimming tool like Pippit’s, which removes dead air and keeps lessons concise. Enhance clarity with visual aids such as arrows, zoom-ins, and brief annotations that pinpoint exact hand placements or tool angles, enabling learners to replicate movements accurately.
Optimizing for Short-Form and Modular Content
Create a 30-second teaser that opens with the finished product, followed by three concise forward steps tailored for social media feeds. For more comprehensive tutorials, start with a 10-second reversed highlight, then dive into a detailed 10-minute breakdown complete with timestamps. Develop modular templates where each segment functions as a micro-lesson, allowing you to repurpose content across email courses, mobile apps, or paid workshops without redoing the initial reveal. This modular approach accelerates production and ensures consistent brand messaging.
Incorporating Practice Loops and Self-Assessment
Integrate looped segments for hands-on practice. After demonstrating a challenging technique, replay it slowly with on-screen counts to encourage repetition. Include checkpoints where learners attempt the move themselves, then compare their performance to the original final frame shown at the start. These formative assessments empower students to self-correct and revisit specific clips without rewatching the entire lesson, maximizing efficient practice time.
Using Pippit to Reverse Your Videos: A Simple 3-Step Guide
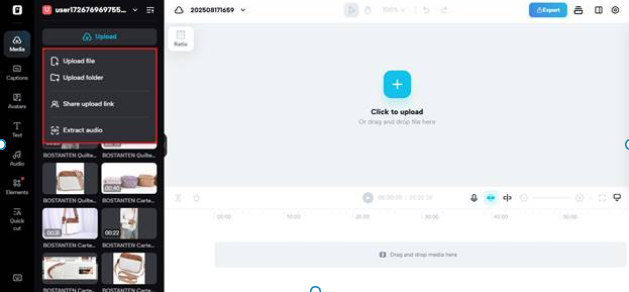
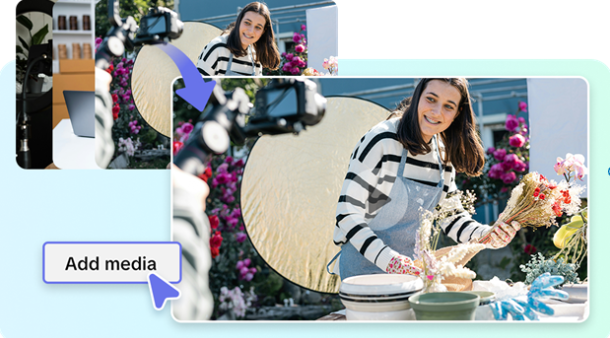
Step 1: Upload Your Footage
Sign up for a Pippit account, navigate to the Video Generator, and open the Video Editor. Click on the Media tab and select Upload to add your video files or folders. Once your footage is uploaded, you’re ready to start editing and apply the reverse effect using Pippit’s intuitive tools.
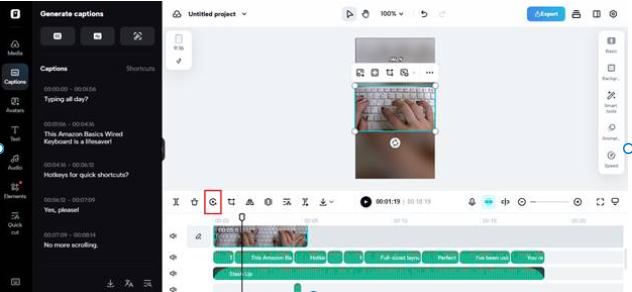
Step 2: Apply the Reverse Effect
After uploading, click the Reverse button located in the bottom-right toolbar to invert your video clip. You can enhance your reversed video by adding transitions, overlays, or other effects. Adjust playback speed and pitch with the Speed feature for customized pacing. Additionally, tools like Remove Background and Animation help you craft visually engaging content.
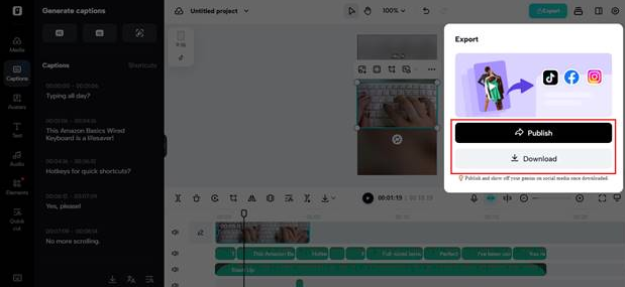
Step 3: Export and Share Your Creation
Preview your reversed video to ensure it meets your expectations. Make any final tweaks before exporting. When ready, click Export and select whether to publish directly to platforms like TikTok, Instagram, or Facebook, or download the file for offline use. Fine-tune export settings as needed to deliver a polished reverse tutorial.
Visual Techniques That Enhance Learning
Maintain steady camera framing, uniform lighting, and close-up shots when precision is crucial. Use match cuts and motion anchors to create seamless transitions from the reversed reveal to the forward tutorial. If your lesson includes photos or diagrams to illustrate variations, animate them with Pippit’s image-to-video features, blending still images with motion for greater engagement. Consistency in color, scale, and camera angles helps the brain perceive continuity, reducing cognitive load and improving comprehension.
Sound Design, Timing, and Repetition for Mastery
Sound bridges the gap between visual cues and tactile experience. Incorporate subtle foley effects like tool clicks, fabric rustling, or brush strokes to help learners associate sounds with specific actions. Choose background music that elevates the reveal but recedes during instruction to maintain focus. Pace your forward tutorial with intentional pauses after key steps, and embed short practice loops allowing learners to replay complex moves at reduced speed. Use captions to highlight tool names, measurements, and rhythm cues, enabling learners to follow along without constant rewinding.
Addressing Common Pitfalls and Solutions
Avoid overly complex opening shots; the final frame must be instantly understandable. Don’t cut out essential context-sometimes a slightly longer clip provides more clarity than a rapid jump cut. Test your tutorial on beginners: if they struggle to describe the forward steps after viewing the reversed intro and lesson, simplify your approach. Break down checkpoints into precise, actionable moments using exact timings, hand positions, and tool angles rather than vague instructions.
Conclusion: Empower Learning with Reverse Tutorials
Rewind-style tutorials transform passive viewing into active skill-building by unveiling the outcome first, then guiding learners through the path to achieve it. This method boosts rewatch value and sharpens practice focus. With Pippit’s suite of tools, you can craft compelling reveals, design clear forward lessons, and export polished tutorials quickly. Ready to inspire and educate with impact? Launch Pippit, reverse your footage, and publish tutorials that accelerate your audience’s learning journey.


0 Comments